A Guide to Layering Professional Cocktails at Home
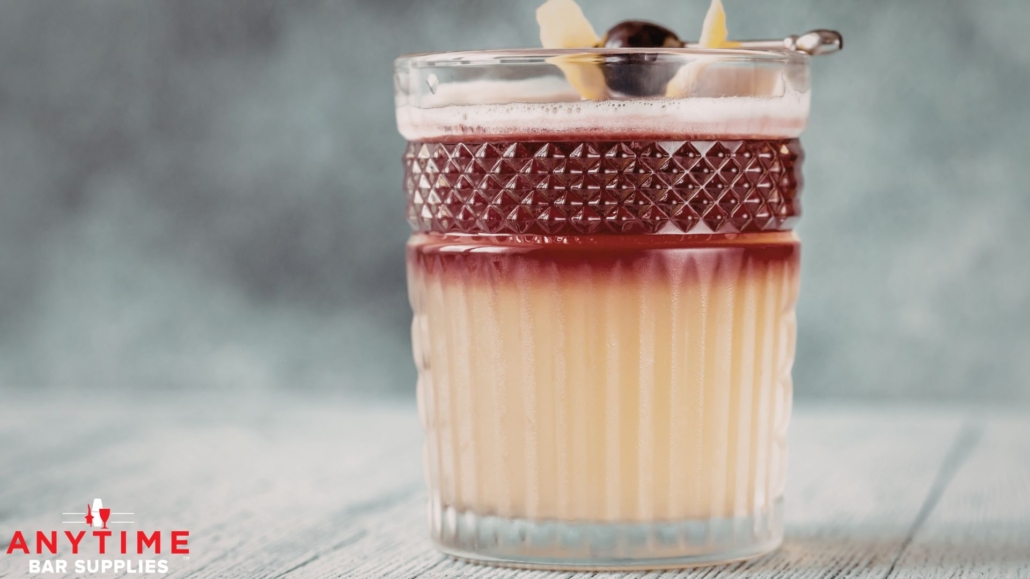
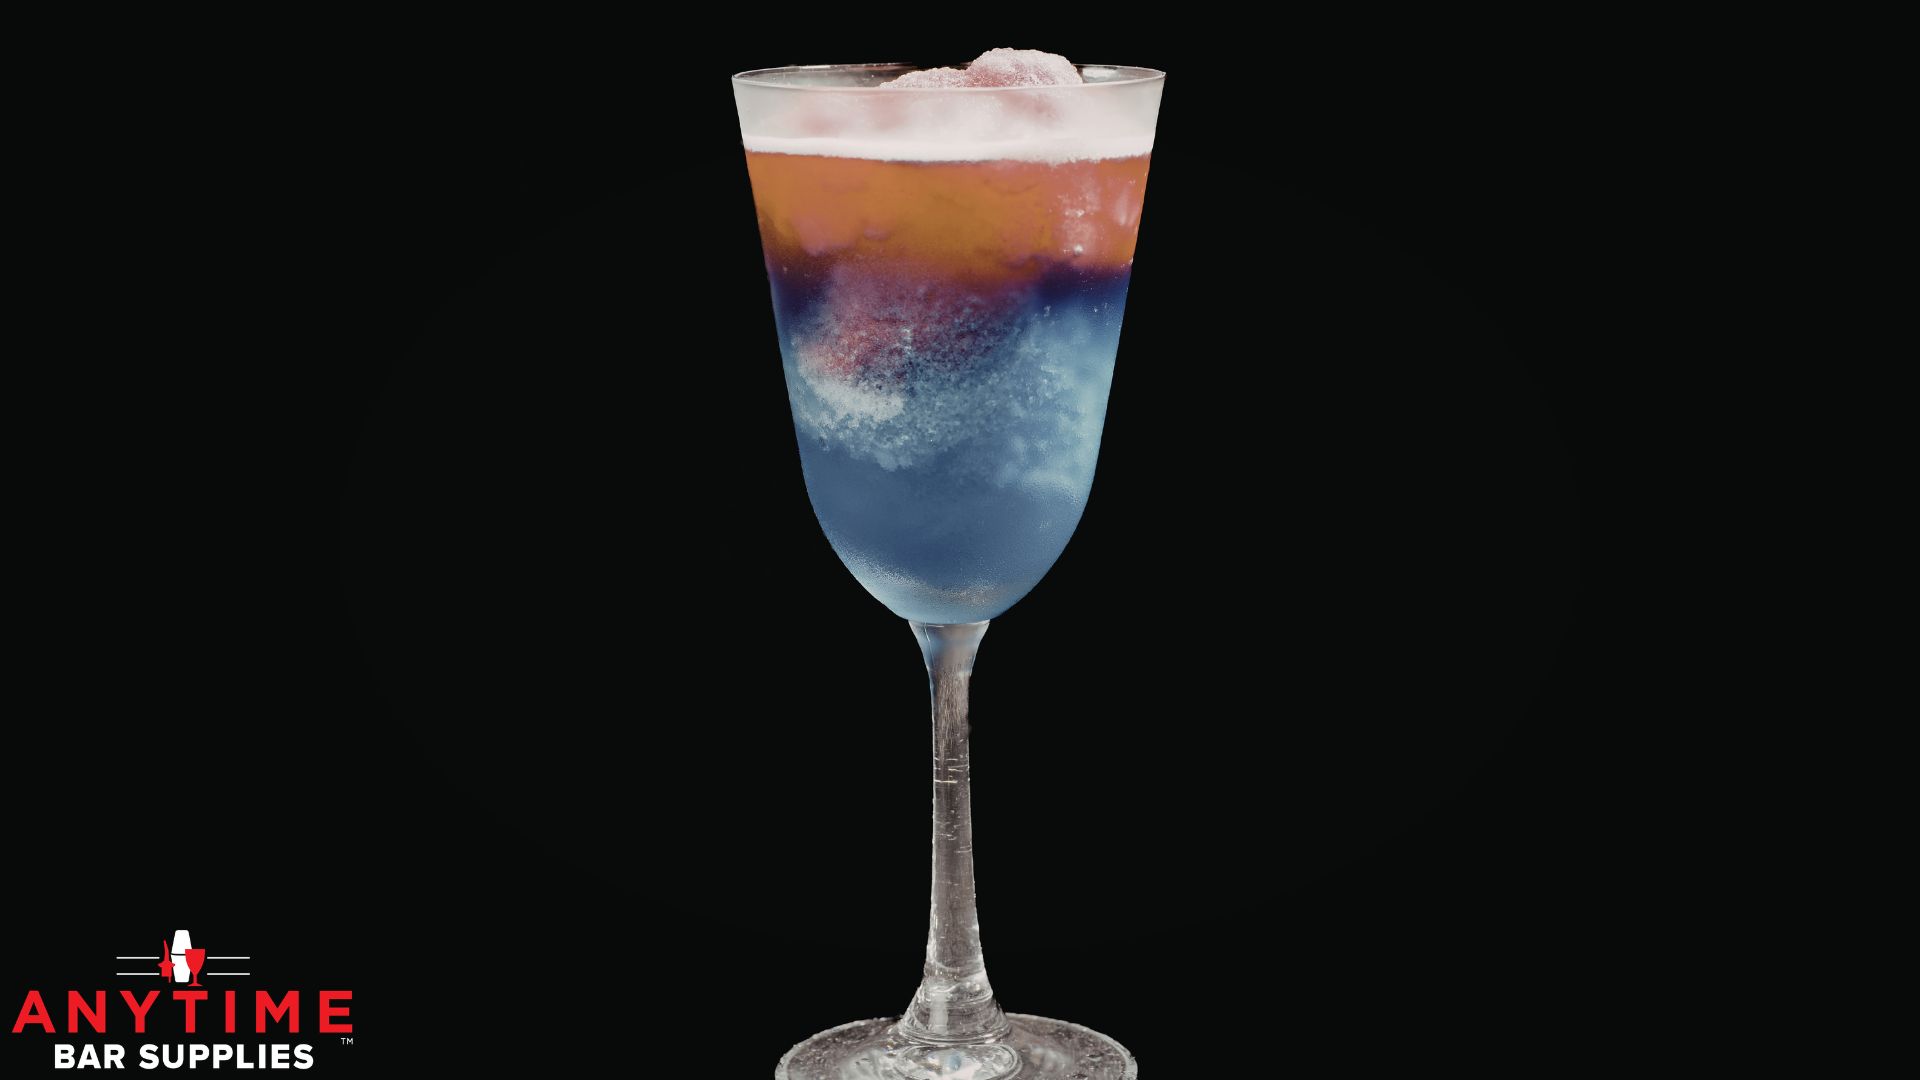
There is something inherently magical about a perfectly layered cocktail. Whether it’s the striking contrast of a Pousse-Café or the delicate float of red wine on a New York Sour, layered drinks signify a level of craftsmanship that sets professional bartenders apart.
At Anytime Bar Supplies, we believe that with the right knowledge and the professional bar tools, anyone can master the physics of the “float.” Here is everything you need to know about the science of layering.
The Science of Specific Gravity
The secret to layering isn’t magic; it’s physics. Specifically, it is the concept of Specific Gravity. In the world of mixology, specific gravity refers to the density of a liquid compared to water.
Every spirit, liqueur, and mixer has a different sugar and alcohol content.
- High Sugar = High Density: Heavy syrups and liqueurs (like Grenadine or Kahlúa) sit at the bottom.
- High Alcohol = Low Density: Spirits with higher ABV (like Vodka or Overproof Rum) are lighter and will float on top.
To create a clean layer, you must always pour the heaviest (densest) liquid first and the lightest (least dense) liquid last.
Essential Tools for the Perfect Float
You cannot achieve a professional layer by simply dumping ingredients into a glass. To maintain the surface tension between the liquids, you need to minimize the force of the pour.
- The Bar Spoon: A long-handled, twisted bar spoon is your most important tool. The flat disk or the back of the spoon breaks the fall of the liquid, allowing it to spread gently across the surface of the previous layer.
- Precision Pour Spouts: Using high-quality pourers ensures a steady, thin stream of liquid. A “glug” from an open bottle will break the layer instantly.
- Glassware: Narrower glasses (like a Nick & Nora or a tall Collins glass) make layering easier because there is less surface area for the liquids to mix.
 Step-by-Step: How to Layer Like a Pro
 Step-by-Step: How to Layer Like a Pro
- Start Heavy: Pour your densest ingredient (usually the sweetest) directly into the bottom of the glass.
- Position the Spoon: Place your bar spoon just above the surface of the first liquid, with the back of the spoon facing up.
- The Slow Pour: Very slowly, pour the next ingredient over the back of the spoon. As the liquid level rises, raise the spoon slightly to keep it just above the surface.
- Wait: Give the drink a few seconds to settle before adding the next layer.
Why Layering Matters for the Guest Experience
Beyond the visual “wow” factor, layering changes the flavor profile of a drink. Instead of a uniform taste, a layered cocktail offers a journey. The drinker experiences different temperatures, textures, and sugar levels as they move through the glass, making the cocktail an evolving experience rather than a static one.
FAQ
Q: Why do my layers keep mixing?
A: This usually happens because the liquids are too close in density or the second liquid was poured too quickly. Try chilling your ingredients first; cold liquids are denser and more stable.
Q: What is the easiest cocktail to practice layering with?
A: The B-52 is a classic choice. It uses Kahlúa (bottom), Irish Cream (middle), and Grand Marnier (top). Their densities are significantly different, making them easier to separate.
Q: Do I need a specific type of spoon?
A: While a standard spoon can work in a pinch, a professional twisted bar spoon is ideal because it allows the liquid to travel down the handle, further reducing the impact of the pour.


